Adding and Managing Printers
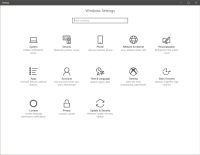
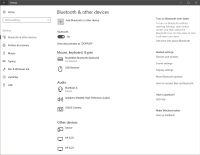
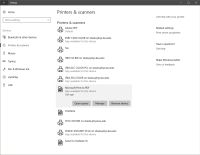
In Windows 10, the first step towards adding or managing printers is to open the "Settings" by clicking on the gear icon found on your Start menu or taskbar. In the "Settings" window, find and click on "Devices" (see Figure 1). On the left-hand side of the "Devices" window, click on the "Printers & Scanners" entry (Figure 2).
It's also possible to manage printers from the older "Control Panel" item called "Devices and Printers". Doing things from here follows the same general steps as from the Windows 10 "Settings", but with a more traditional Windows 7 look-and-feel. This tutorial will use the new Windows 10 "Settings" interface for its examples.
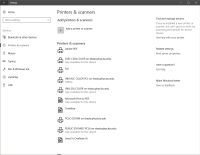
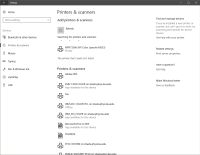
There should be some already installed printers listed. To add a new printer, click the "Add a printer..." button near the top of the window (Figure 3). The next window will offer any local or any already known network printers, but will not find the full list of available network printers. To find those, click "the printer that I want wasn't listed" link near the center of the window (Figure 4).
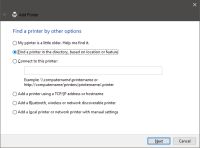
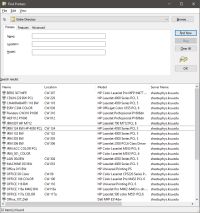
This will pop open a box that lets you search for a printer. Choose "Find a printer in the directory..." and click "Next" (Figure 5). The directory of printers that results will look something like Figure 6. The fields of the list are sortable, and the printers all have reasonable names based on the groups they belong to and/or their location. Find the one you want and double-click on it to add it.
(The most popular printer is named "Public 038 M651 PCL6", found in the public computing lab in CW038. It's actually two identical printers - your job will print on the most available unit.)
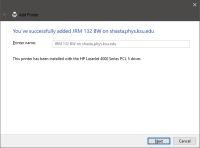
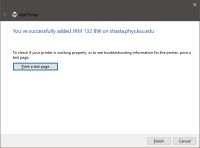
A success message will appear after the system finds and installs the printer for you (Figure 7). Click the "Next" button to continue. You will now be offered the opportunity to print a test page to verify that the installation actually works (Figure 8). This is recommended but optional. Click "Next" again to continue.
You're now back at the list of installed printers, which should now include the new one. By default, Windows 10 tries to manage your default printer for you by choosing the most-used one. This doesn't actually work very well; you're better off choosing your own. There's a checkbox to enable or disable this feature at the bottom of the list of installed printers. If you disable that, you can now click on the printer name of your choice and be given the chance to manage it (Figure 9).
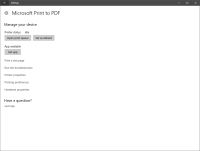
In the printer's management dialog, there's a "Set as default" button that does just that (Figure 10). From here you can also see pending print jobs via "Open print queue", set preference or send another test page, all useful tools if something goes wrong with your printing.
Finally, for more general help with adding printers or other devices to your Windows 10 PC, see Microsoft's "Install a printer in Windows 10" guide.
